Building ambitious Ember apps is easy with Ember CLI
Coming from the world of Ruby and Rails, learning JavaScript seemed a daunting task, especially when it came to learning things like this or what it means to bind. Luckily, I had a great JavaScript instructor who was especially helpful when I decided to learn Ember.

There are many tutorials on the web to help teach you Ember like the one on Code School, but those that are sightly outdated, like the Code School one, won’t teach you to develop Ember apps with the Ember CLI, a command line interface for “ambitious web applications” and the generally accepted way to create Ember apps today.
Although Ember is written in JavaScript, I found it easy to understand much about how the framework worked because of similarities it shared with Rails, especially with the CLI.
Before we dive into the Ember CLI, I think it’s good to take a step back and ask what is Ember, just so we’re all on the same page. For those that aren’t familiar, Ember.js is a client-side JavaScript MVC Framework that provides bindings, observers, adapters, such as the RESTAdapter or ActiveModelAdapter, etc. Ember CLI on the other hand is a Rails-like helper for building Ember.js apps that provides a development server and build tools, generators, testing by default and add-ons.
There’s a lot that we can talk about with Ember CLI, but besides telling you how to get started with it, I’m going to focus on three main things: generators, testing and addons.
Getting Started + generators
To install Ember CLI, as long as you have npm (Node Package Manager) and NodeJS installed on your machine, all you need to do is run the command ‘npm install -g ember-cli. This may take a little while to install Ember CLI and Ember, which is just a NodeJS package, but once installed, we can immediately begin a new project by running ‘ember new my-great-app’, ‘ember new’ plus the name of our app/project.
For help installing, the Ember website has a tutorial, plus has another tutorial to help you build your first Ember app.
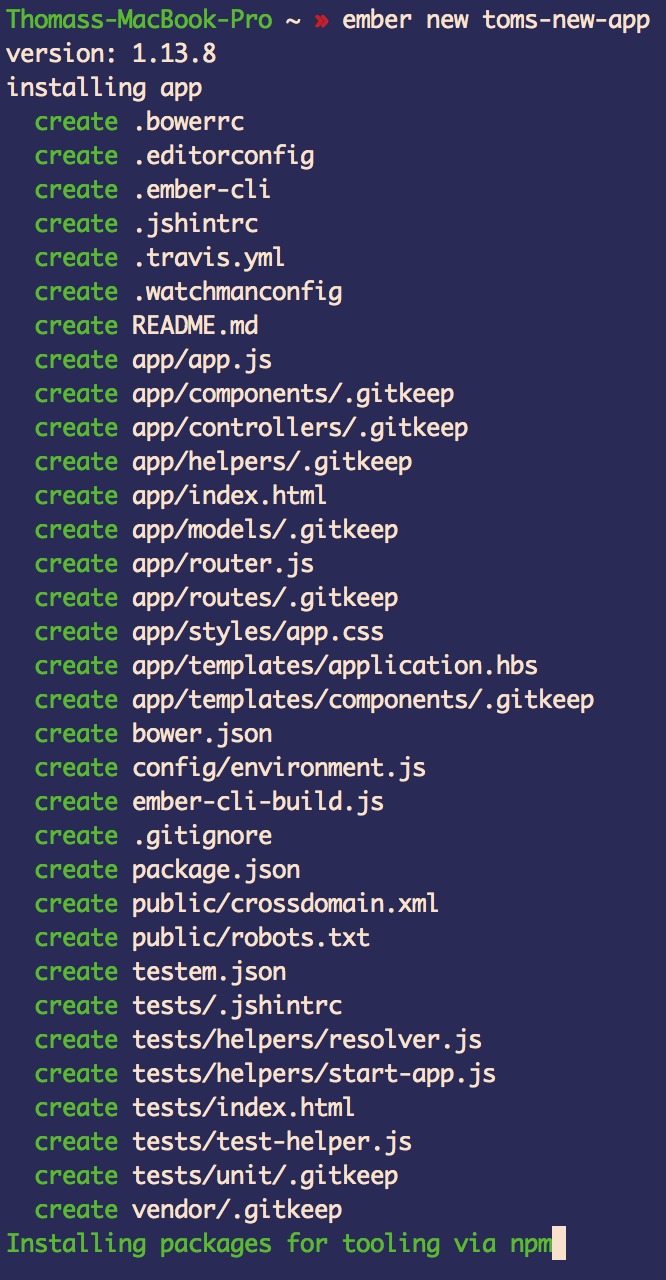
By running the ‘ember new’ command, we create a new project directory with different folders and files and install any packages or dependencies needed via npm. The great thing about this is that if you’ve seen a NodeJS app before and/or a Rails app, you have an idea of the layout and where things should be located. For example, in the app folder, you have additional folders and files for your components, controllers, models, routes and templates, etc.
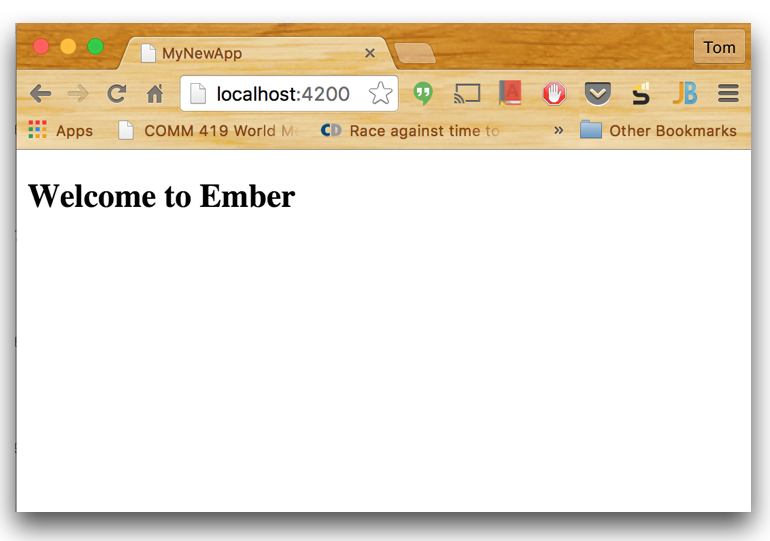
Believe it or not, just by running this simple ‘ember new’ command, we already have a working Ember app even though it’s extremely simple and doesn’t do much. If we run ‘ember s’ or ‘ember server’, our app will be built and served to localhost:4200.
Now that we have our new app, we can start building it out and make use of Ember CLI’s generators. The generators in Ember CLI are very much Rails-like and can generate nearly anything including models, routes, controllers, components, adapters, tests… you name it.
To generate these, you just run ‘ember g’ followed by the type of thing and then the name of it. Here are some examples: ‘ember g model user’, ‘ember g resource album’ and ‘ember generate component email-component’.
One last thing that’s really awesome about generators, which will take us into the next topic, is that when you do generate something it will also create a test for you to test that new thing you generated.
Testing
Another thing that Ember takes from the Ruby/Rails world, is the ability to let you easily write well-tested code by including QUnit as the default testing library. If you aren’t a fan of QUnit, that’s okay since others are supported through third-party addons.
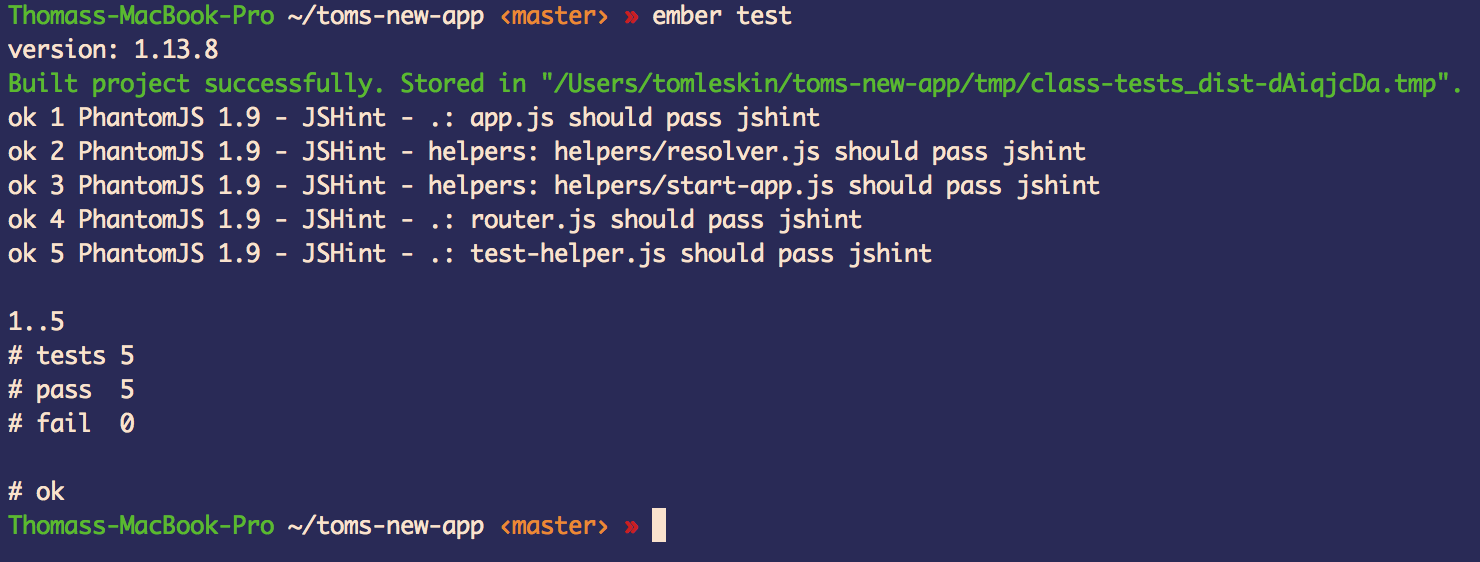
To run your tests, just run ‘ember test’ from your command line and the tests will be run and you can see the results right there. You can also re-run your tests on every file-change by running ‘ember test –server’ from the command line. These commands run your tests using Testem to make testing multiple browsers very easy. You can configure Testem using the testem.json file in your application root.
If you have your app built and served to a local server, you can just visit ‘http://localhost:4200/tests’ and view your tests in the browser.
One last thing to mention is that while using generators to generate code such as models or controllers will create tests for you, you can also generate your own tests such as an acceptance-test by running ‘ember generate acceptance-test’ then the name of the test. For example, here’s how I would create an acceptance-test testing login, ‘ember g acceptance-test login’, plus the test it generates.

Addons
The last thing I’d like to touch on with the Ember CLI are addons. This is a system that provides a way to create reusable units of code. You can think of them as similar to RubyGems.
Basically, if someone has already created code for something that is done by many, why should you have to reinvent the wheel?
Addons are installed by running ‘ember install
Conclusion
Although you can create Ember apps without the CLI, that’s how you have to do it if you were creating an Angular.js or Backbone.js app, this is just a tool that really simplifies things and gives you a lot of things for free.
The Ember CLI was created so you can stop wasting time with little things such as file structure or how exactly do I setup this code and lets you get to the more important and challenging things. Also, if everyone is using it and the projects all have the same file structure, any Ember developer can jump into the app and know where things are located.
To reiterate, the reason why you’d want to consider the Ember CLI is that it’s considered a best practice to use it to build an Ember app, it comes with generators to easily create boilerplate code, it has a built-in testing library and has lots of addons for reusable code already created by the community.